How to learn and practice checkmates with Puzzle Academy
How to learn and practice checkmates with Puzzle Academy
From the most important basic checkmate patterns to the most complex and beautiful checkmate combinations, Puzzle Academy helps you improve your checkmating skills step by step.
There are three different things to learn: the final checkmate pattern, the tactical logic that can force checkmate, and the typical combinations that often lead to a specific checkmate pattern. Puzzle Academy trains these three layers in a structured way.
Step 1: Learn the basic checkmate patterns
Start with level 1 of the Checkmate Patterns course.
Here you learn the final checkmate patterns themselves, together with the one move that completes them. If you are a beginner, this will help you spot checkmates much more quickly and effortlessly. If you are an intermediate player and have never practiced checkmate patterns systematically before, this can still be very beneficial. The faster you recognize the final checkmate pattern, the easier the more difficult checkmates become later on.
You can even test yourself with our mini-game Checkmate Armageddon. If you score less than 30 points, you will probably benefit a lot from practicing the basic checkmate patterns first.
Two different positions, but the same checkmate pattern. In the first diagram, White can checkmate with 1.Rh5#. In the second, White can checkmate with 1.Rh4#.
In both positions, the rook checkmates the king on the edge of the board, the square next to the king is blocked, and the remaining escape squares are guarded by the white knight. This checkmate pattern is called Anastasia’s mate.
Step 2: Learn the logic behind checkmate combinations
Next, study the Checkmate Combinations course.
This is less about recognizing one specific final checkmate pattern, and more about understanding the tactical logic that can force checkmate. You learn ideas such as decoys, deflections, clearance, opening lines, quiet moves, and discovered checks. The positions may look completely different, but the underlying logic can still be the same.
In the first diagram, Black can sacrifice the queen with 1...Qxf1+! to lure the king to f1 after 2.Kxf1, where it can be checkmated with 2...Rd1#.
In the second diagram, White can sacrifice the bishop with 1.Bc7+! to lure the king to c7 after 1...Kxc7, where it can be checkmated with 2.Qd8# (or after 1...Ka6, with 2.Qa5#).
The positions look very different, but the tactical idea is the same: a sacrifice lures the king to a square where it can be checkmated. This tactical motif is called a decoy.
Step 3: Practice typical combinations leading to specific checkmate patterns
After that, move on to level 2 and above of the Checkmate Patterns course.
Here you combine what you learned in the first two steps. You already know the final checkmate pattern, and you already know the tactical logic behind many checkmate combinations. Now you practice the typical combinations that often lead to a specific checkmate pattern.
This is where pattern recognition becomes important again. For some checkmate patterns, similar piece arrangements and similar forcing sequences occur again and again. Once you have seen these typical constructions often enough, you start to recognize not only the final checkmate pattern, but also the most common ways of forcing it.
Anastasia’s mate can often be achieved against a castled king with a decoy on h7.
In the first diagram, White wins with 1.Ne7+ Kh8 2.Qxh7+! Kxh7 3.Rh4#.
In the second diagram, the position is different, but White wins with the same sequence: 1.Ne7+ Kh8 2.Qxh7+! Kxh7 3.Rh4#.
The final checkmate pattern is the same, and the route to it is also very similar. This is why higher levels of Checkmate Patterns are so useful: they help you recognize the recurring constructions that often lead to a familiar checkmate pattern.
How calculation fits in
As the levels become harder, calculation becomes more important. In level 1, the main task is usually to recognize the final checkmate pattern and find the one move that completes it. In level 2 and beyond, the checkmate pattern is often the easy part — the harder part is calculating the forcing sequence that leads to it.
This works in two directions. Sometimes you already see the final checkmate pattern and then look for a way to force it. At other times, you calculate a sequence and recognize the checkmate pattern while looking ahead. The better you know the patterns, the easier this calculation becomes.
Where to go next
To build your checkmating skills systematically, start with the first levels of Checkmate Patterns, then study the tactical logic in Checkmate Combinations, and finally return to the higher levels of Checkmate Patterns to practice the most typical routes to each pattern.
You can also explore the full Puzzle Academy curriculum to see how these checkmate courses fit into the larger skill tree.

Tuesday, April 28, 2026
Last updated: Tuesday, April 28, 2026
Martin Bennedik
Founder of ChessPuzzle.net, International Correspondence Chess Master
Related posts
Draws in Chess: The Rules, the Claims, and How to Train Them with Puzzles
Learn about the different ways a chess game can end in a draw, how to claim a draw, and how draws are handled on ChessPuzzle.net.About Ratings
Chess ratings and ratings on ChessPuzzle.net explained
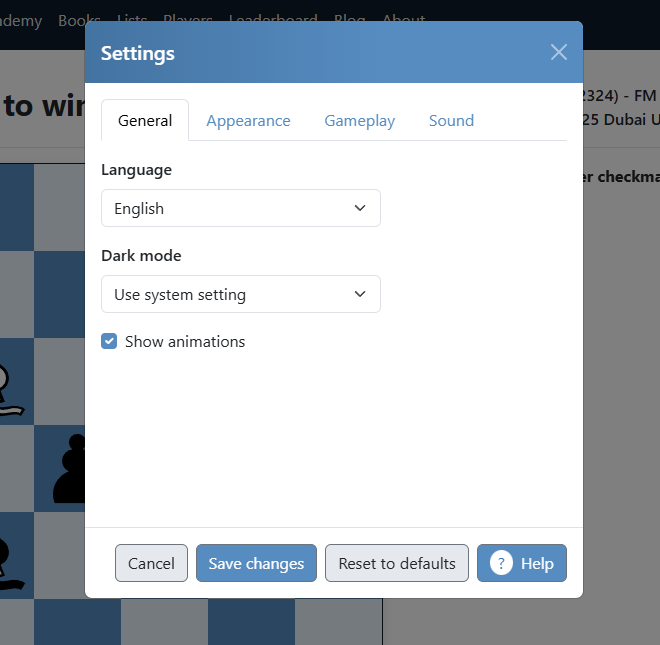
The ChessPuzzle.net settings dialog
This article explains all options of the settings dialog.